Easy way to fix an RV window leak
If you have a leak -around- or below a window in your RV or travel trailer- read on!
If you notice water dripping below a window in your RV or travel trailer
after a rain you might need to do the following.
This is a one afternoon (1 or 2 beer) project.
Sorry I didn't take any photos of the very first steps.....
You'll just have to use your imagination!
The first thing to do is remove any window shades on the inside
of your problem window.
Then remove all screws around the inside window trim.
You might want to mark the top of the trim ring with a piece of
tape before you remove it.
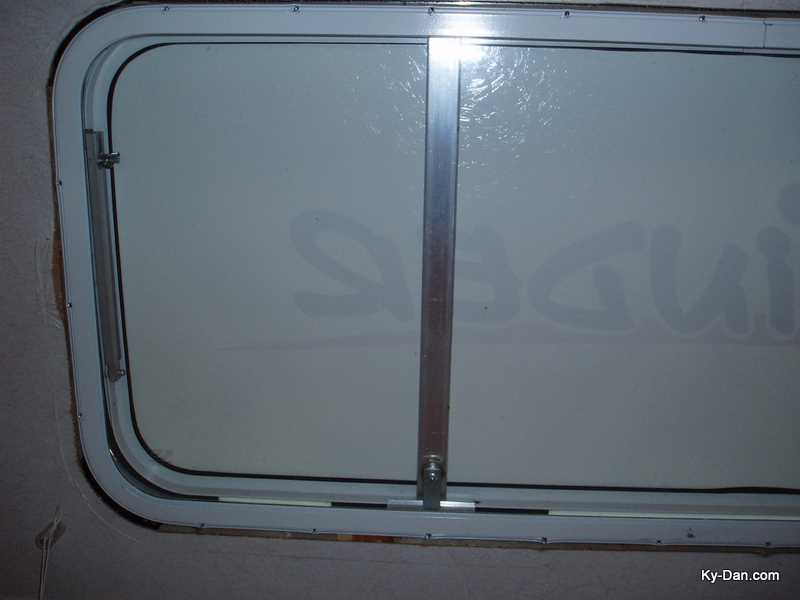
Go outside and carefully pry the window out of the opening.
You might find it helpful to have someone inside pushing
while you carefully pry it loose on the outside.
CAREFUL, you don't want to drop it out onto the ground!!
Once you've got the window out, it's time to move to
the workbench.
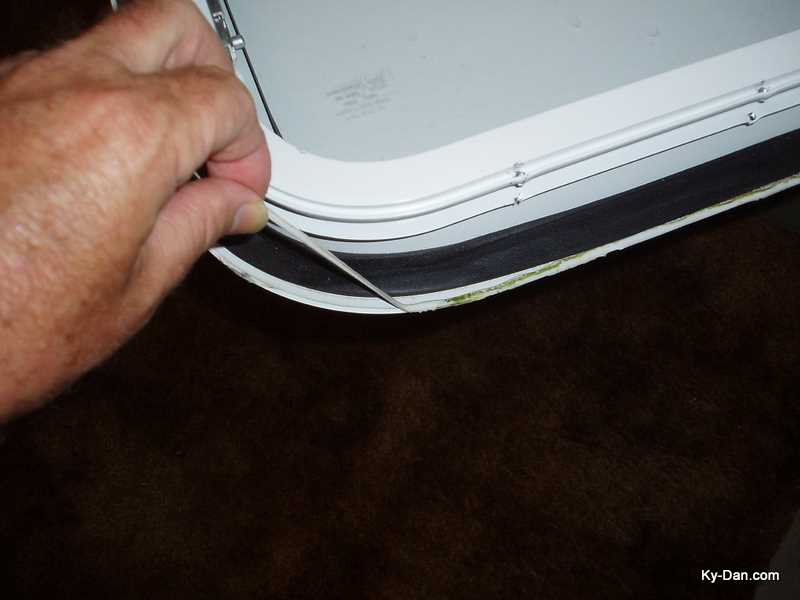
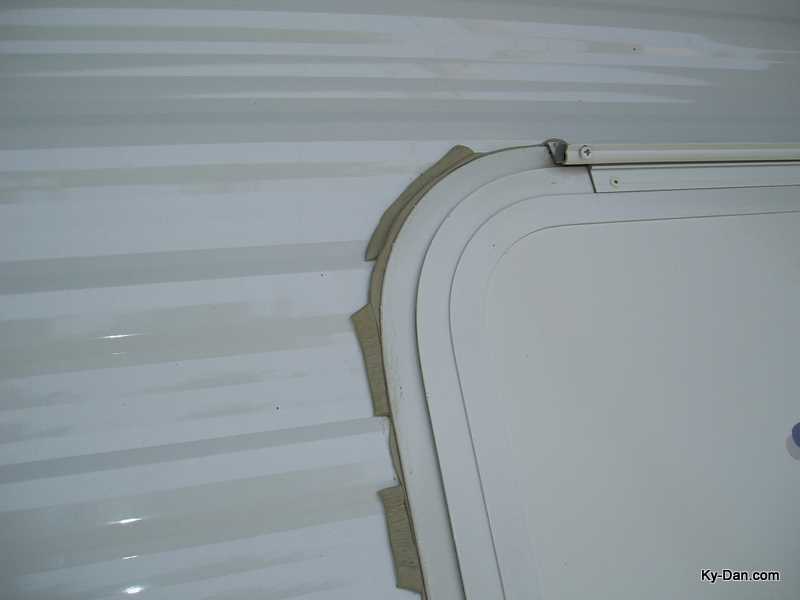
Next step is to remove all old caulking and foam tape from
the window flange.
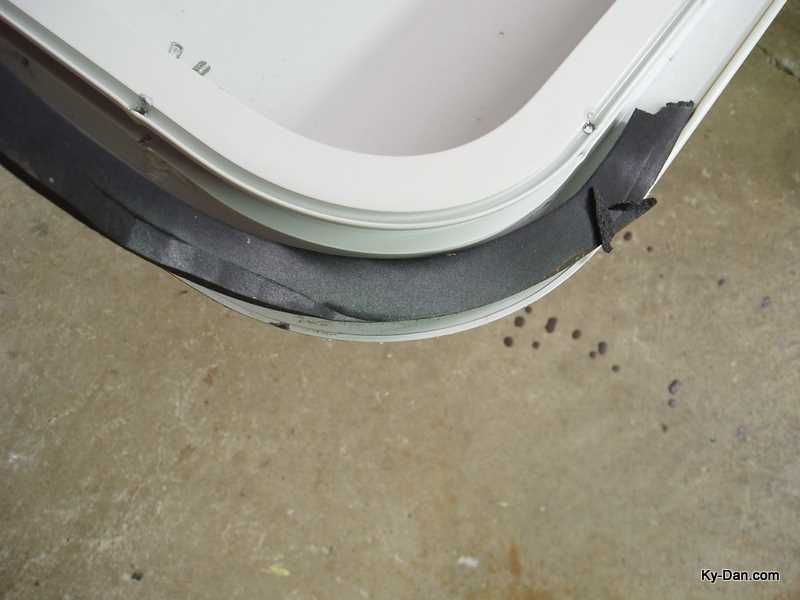
Note the foam tape is not even compressed at the top corner!
This is where it leaked. Remove all foam tape and old caulk.

You'll need a roll of ribbon caulk from the parts counter of your
local RV seller. IF it's too soft and difficult to pull off the roll
you can refrigerate it to stiffen it up.
Be sure and overlap the ends of the ribbon caulk and make sure it
goes all the way out to the edges of the window flange.
After cleaning any caulk off the outside of your RV window opening,
it's almost time to place the window in the opening.
IF you have aluminum sides on your RV, place an extra piece of ribbon
caulk in all the valleys of the siding.
Set the window in the opening but DON'T PRESS IT AGAINST THE WALL YET.
Have a helper gently hold the window in place while you go inside and
check the gap at the top, bottom and sides.
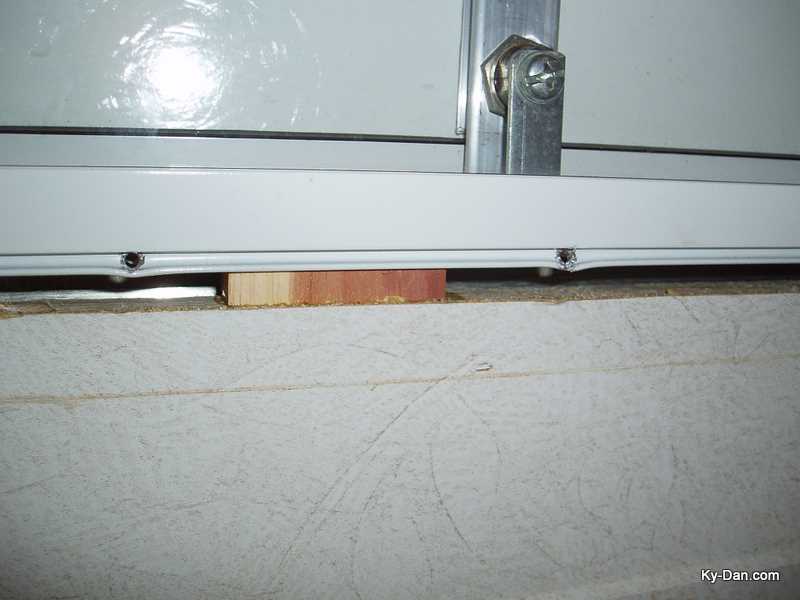
It's IMPORTANT to center the window from all directions. In my case I
had to cut a couple of wood shims to place under the window to raise
it up in the opening so the GAP WAS EVEN ALL THE WAY AROUND.
Once you're sure you have an even gap on all sides you can re-install the
inner trim and screws. Tighten them in stages all around until you have
them all snugged up tight.
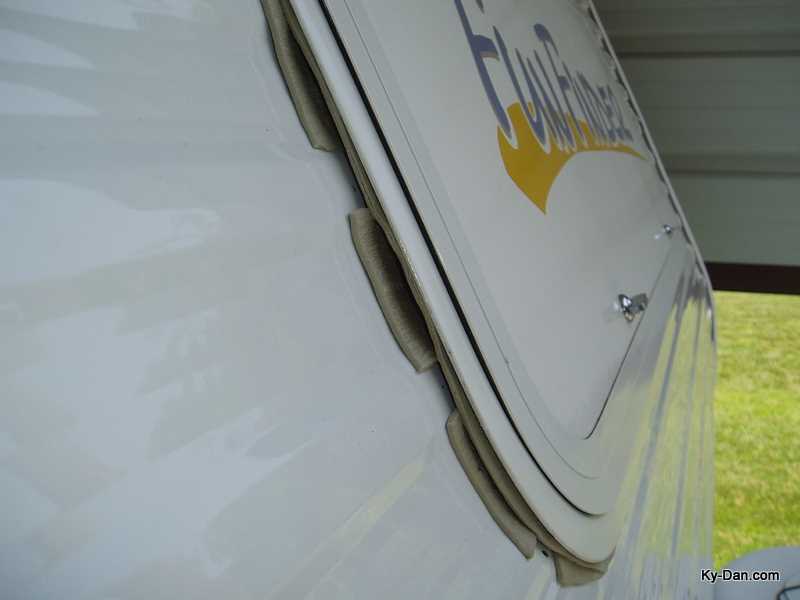
You want to see some "squish out" all the way around your
window once the screws are all tight inside.
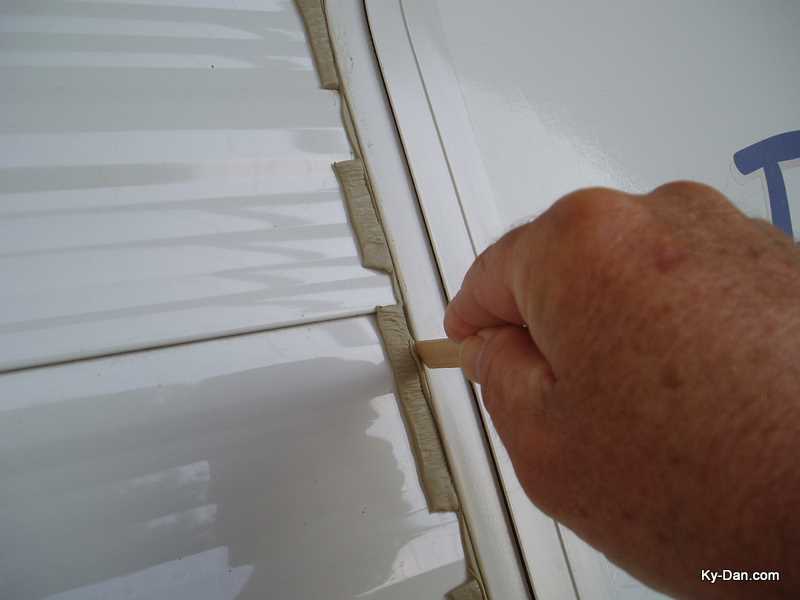
Use a sharpened pop sicle stick or paint stirrer stick to
cut away the squish out caulk. Once you've cut it you can
easily pull it off the siding. I suggest these steps be
done in the shade rather than hot sun where the caulk might
be too soft and sticky to pull off in one piece.
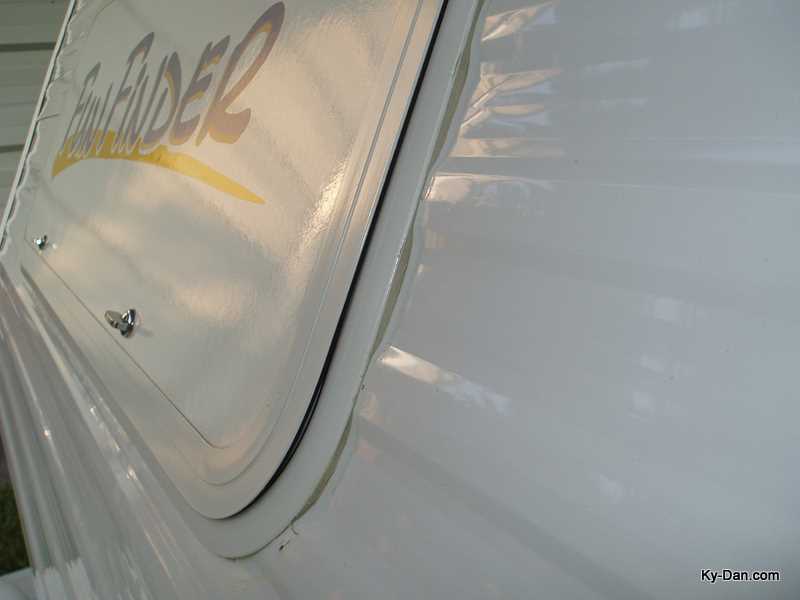
Note the valleys are nicely filled with caulk and the job looks
pretty neat!!

Re-install the inside shades and pat yourself on the back.
This window is ready to shed what ever mother nature tosses your way!!
(Sound of pop top followed by a gulp and a satisfied sigh.......)
See you in the campground, along the trail or on the road!!
Peace!
KyDan
Drop us a line and tell us how your window repair turned out.

 Up to the top of this page
 To Dan's Garage